The main window
The menu bar, the ribbon, the pinned Generate Layout button, the five stage tabs of inputs on the left, the views on the right, and the status bar.
The main window has three parts. A navy ribbon runs across the top. The left column holds the pinned Generate Layout button and, under it, every design input on five stage tabs. The right side shows the plant — the drawing, the summary sheet, the energy result, the bill of materials and the single-line diagram — as five views of the same design, with a row of plant totals under whichever view is up.
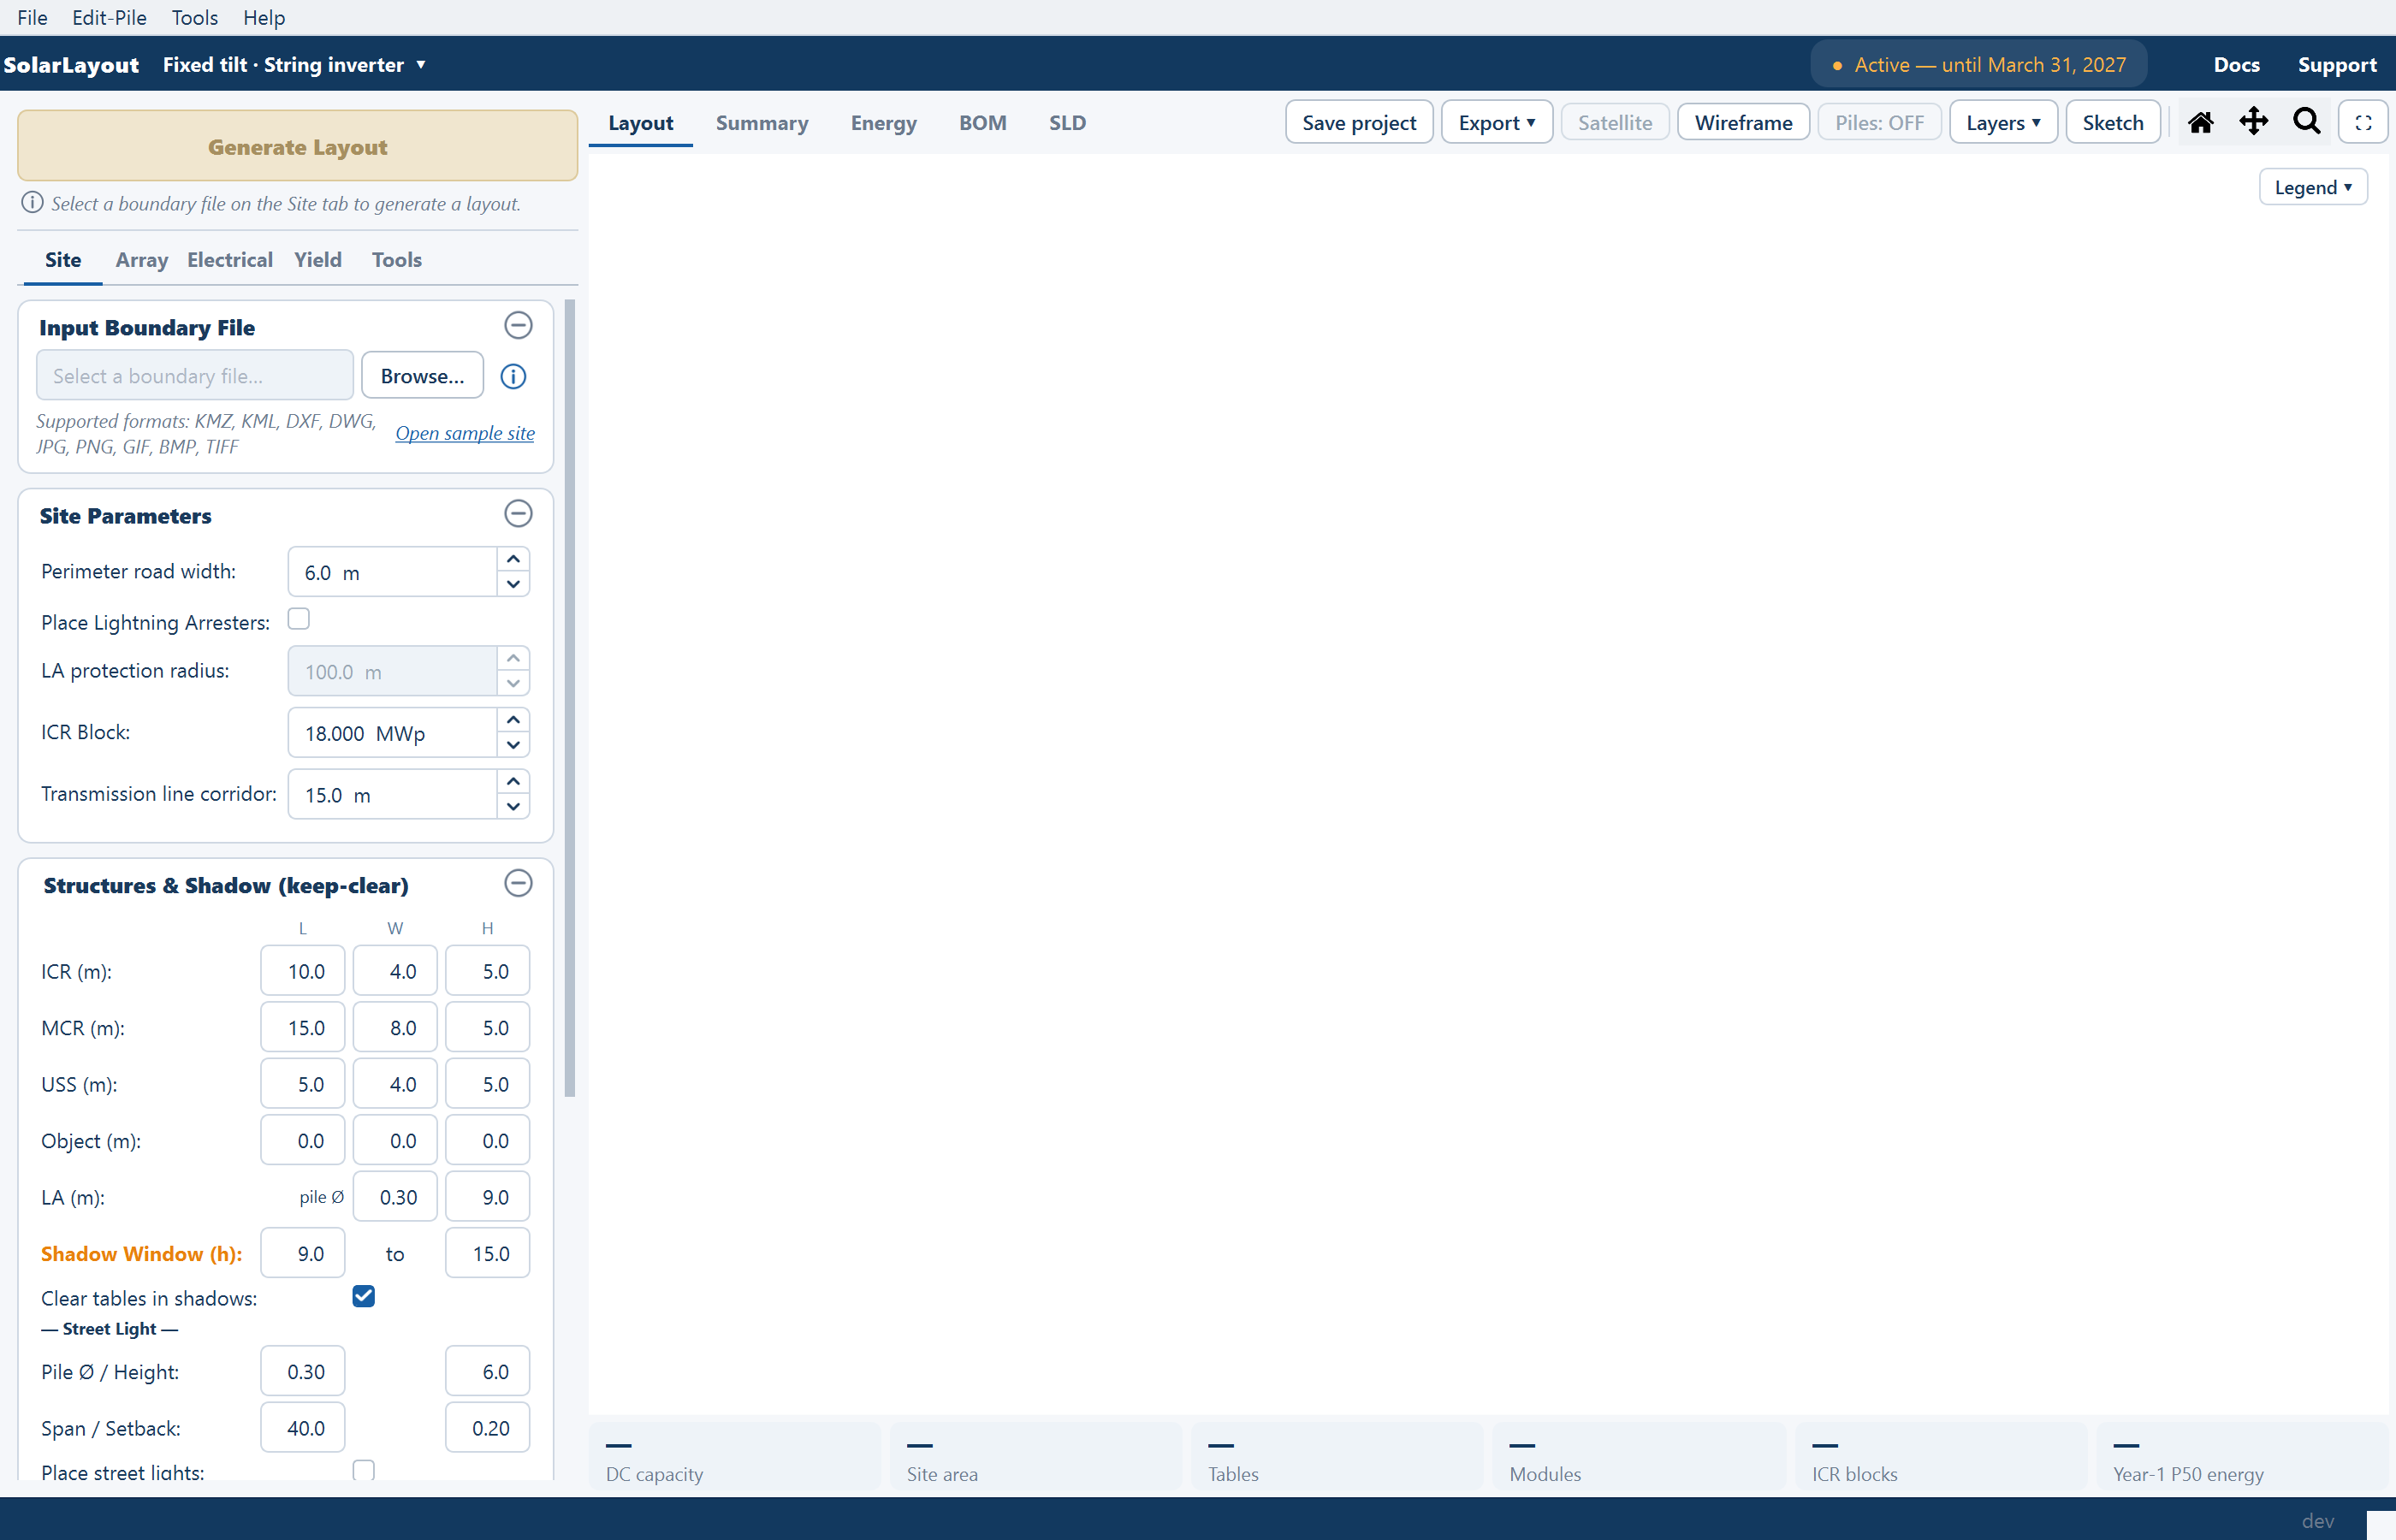
Above the ribbon sits a conventional menu bar, and below everything a status bar reports what the application is doing.
The menu bar
Four menus: File · Edit-Pile · Tools · Help. Every item is always enabled.
| Menu | Items |
|---|---|
| File | New Project (Ctrl+Shift+N) · Move to String / Central Window… (Ctrl+N) · Save Project… (Ctrl+S) · Open Project… (Ctrl+O) · Open Sample Site · Exit (Ctrl+Q) — see Saving and reopening projects |
| Edit-Pile | Define Pile Layout… — see Piles |
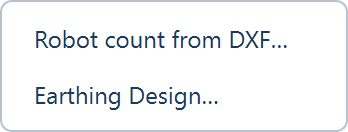
| Tools | Robot count from DXF… · Earthing Design… |
| Help | How to Use This Tool (F1) · License / Subscription… — see Getting help |
The Tools menu repeats two of the studies from the Tools tab. Robot count from DXF… works at any time, with or without a layout — it reads a plant drawing of its own. Earthing Design… works on the generated layout; before one exists it answers Generate first — "Generate a layout first, then open Earthing Design." Neither has a shortcut.
The ribbon

| Item | What it is |
|---|---|
| SolarLayout | The brand. The window's title bar names the design, for example SolarLayout [Fixed Tilt | String Inverter]. |
| The design chip | Reads the design this window holds — Fixed tilt · String inverter ▾, Tracker · Central inverter ▾ and so on. Clicking it opens the New design window and launches a second, independent window for the design you choose there; this window stays open. See Choosing a design mode. |
| The status mirror | A gold italic line that repeats most status-bar messages, so a result is readable without looking down. It leaves out the "Layout ready" line, the out-of-date line and routine messages. |
| The access chip | ● Active — until <date> when this device has access, with (offline) appended while a cached check is in use; ● Access expired or ● Access revoked in red with a Contact Us button; ● Access status unavailable when the server cannot be reached. With no access at all the chip is hidden and a gold Get Free Access button stands in its place. See Activate your licence. |
| Docs | Opens this documentation site in your browser. |
| Support | Opens the Support / Feedback window. |
The left column
Generate Layout
The gold Generate Layout button (F5) is pinned above the tabs, so it is in the same place whichever tab you are on. Under it a hint line says why it is disabled — "Select a boundary file on the Site tab to generate a layout." until a boundary file is chosen. Generating needs active access for this device; without it the License / Subscription window opens instead.
Once a layout exists, changing any input it was built from makes it out of date. The button then reads Regenerate Layout, with a second line inside it naming the change — "Module wattage changed since the last run", or "2 inputs changed since the last run" — and keeps its height. The changed fields turn amber, and a small amber dot follows the name of each stage tab that holds a change. Change the value back and all of it goes away. See Out-of-date results.
The five stage tabs
The inputs are split across five tabs, in the order the design is normally worked through. Every card on a tab is a collapsible group: the ⊖ button in its header folds it away, and every card opens expanded.
| Tab | Cards, top to bottom | Covers |
|---|---|---|
| Site | Input Boundary File · Site Parameters · Structures & Shadow (keep-clear) · Topography (slope-aware exclusion) | The boundary file; roads, arresters, ICR blocks and the transmission line corridor; keep-clear shadows; terrain — Boundary files, Site parameters |
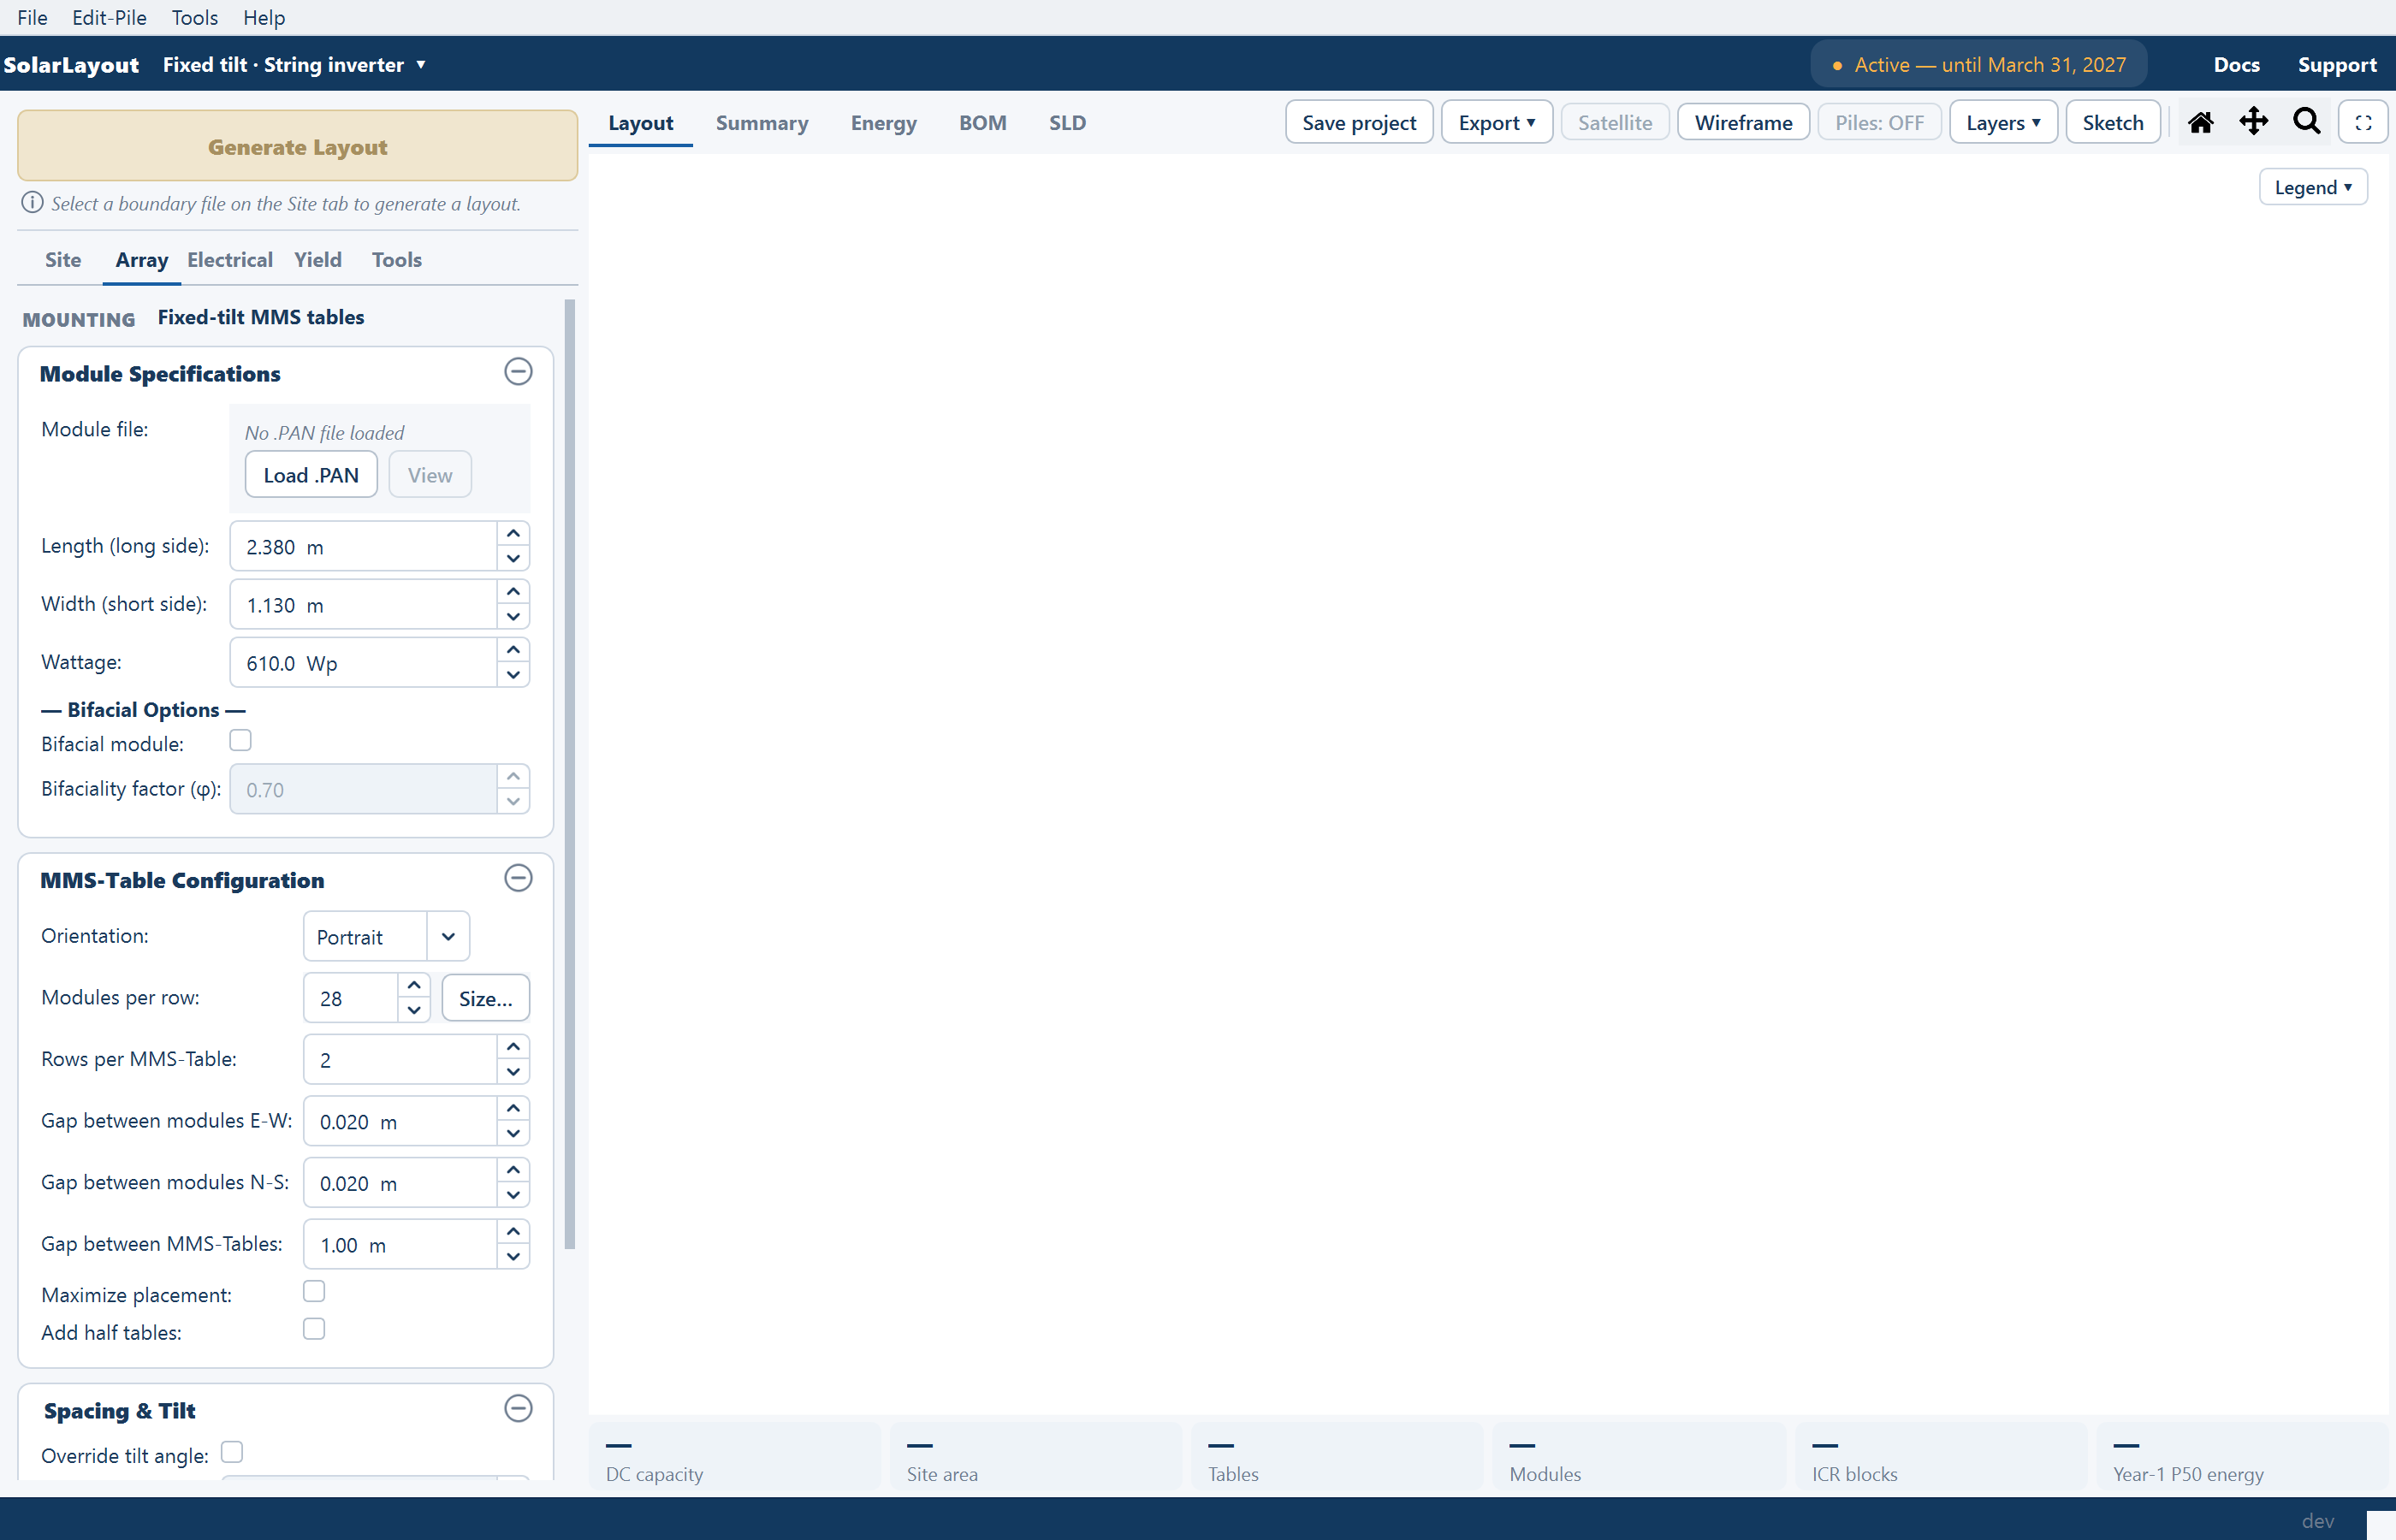
| Array | A read-only MOUNTING chip · Module Specifications · then MMS-Table Configuration and Spacing & Tilt on a fixed-tilt design, or Tracker Configuration on a tracker | The module, the table or tracker geometry, tilt and pitch — Module, Table configuration, Tracker |
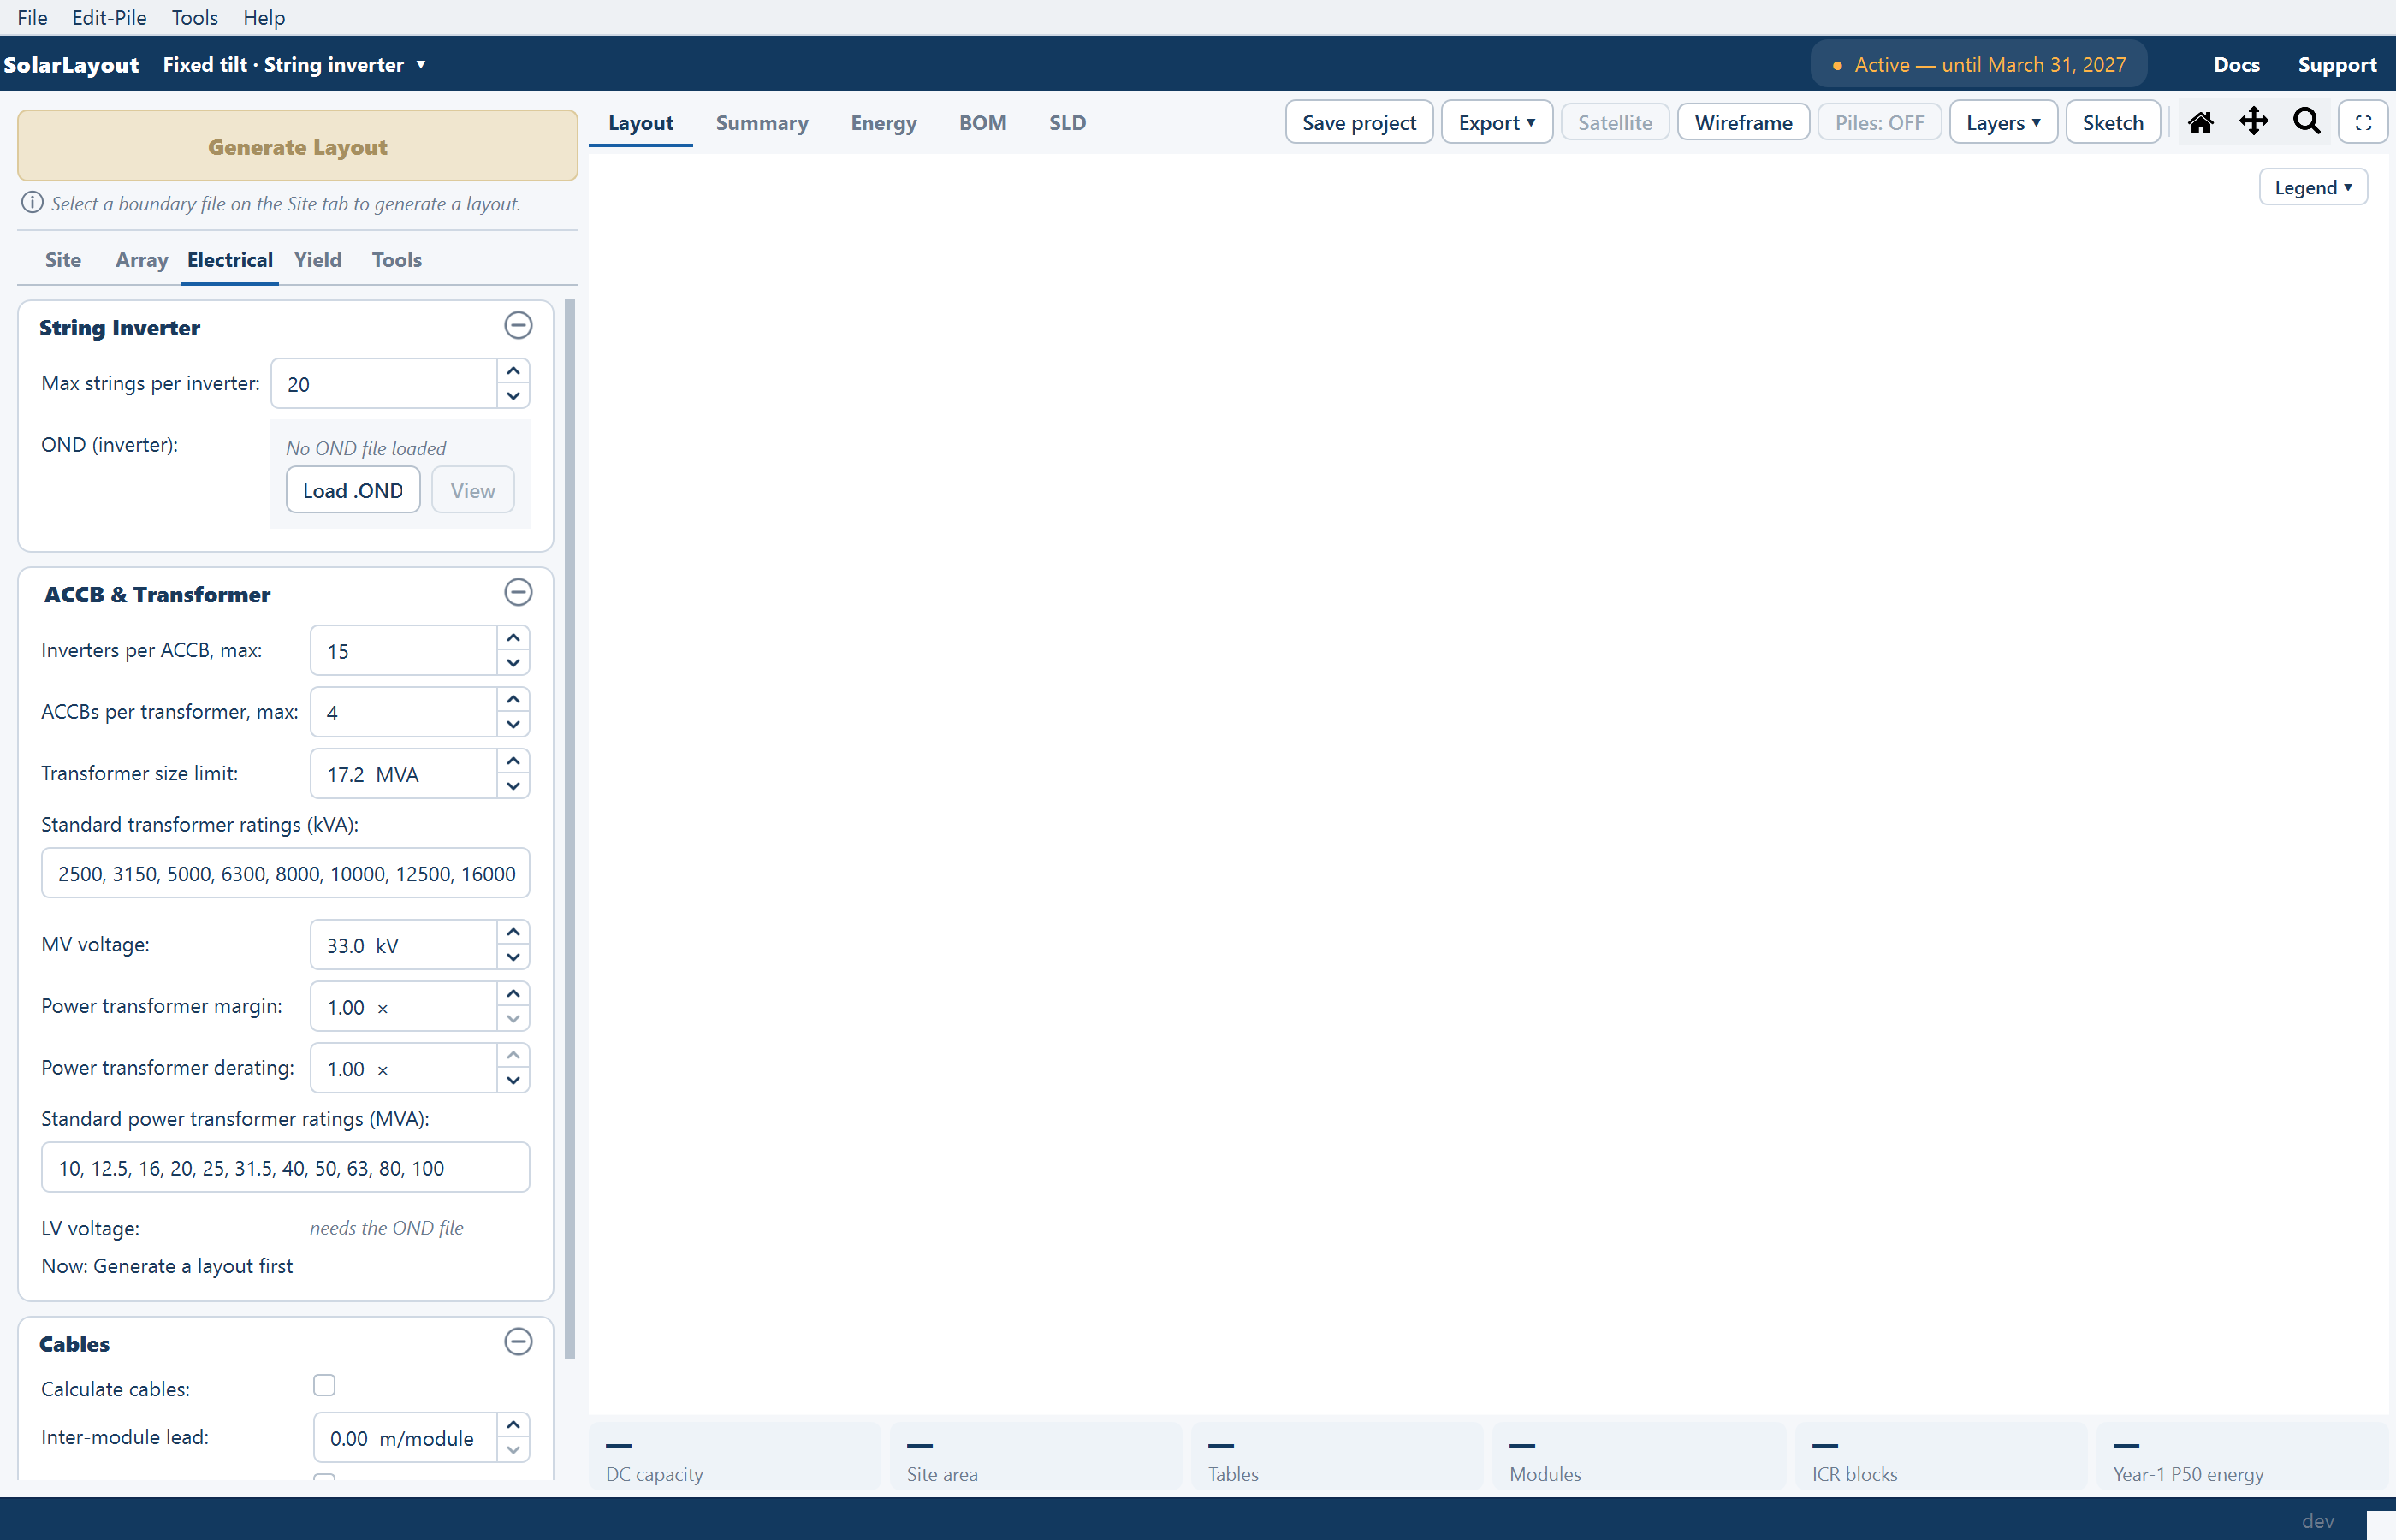
| Electrical | String Inverter (or SMB – String Monitoring Box on a central-inverter design) · ACCB & Transformer (or Transformer on a central-inverter design) · Cables | Strings per inverter and the inverter file; how inverters group into AC combiner boxes and transformers; cable calculation with its allowances — Inverter, ACCBs and transformers, Cables |
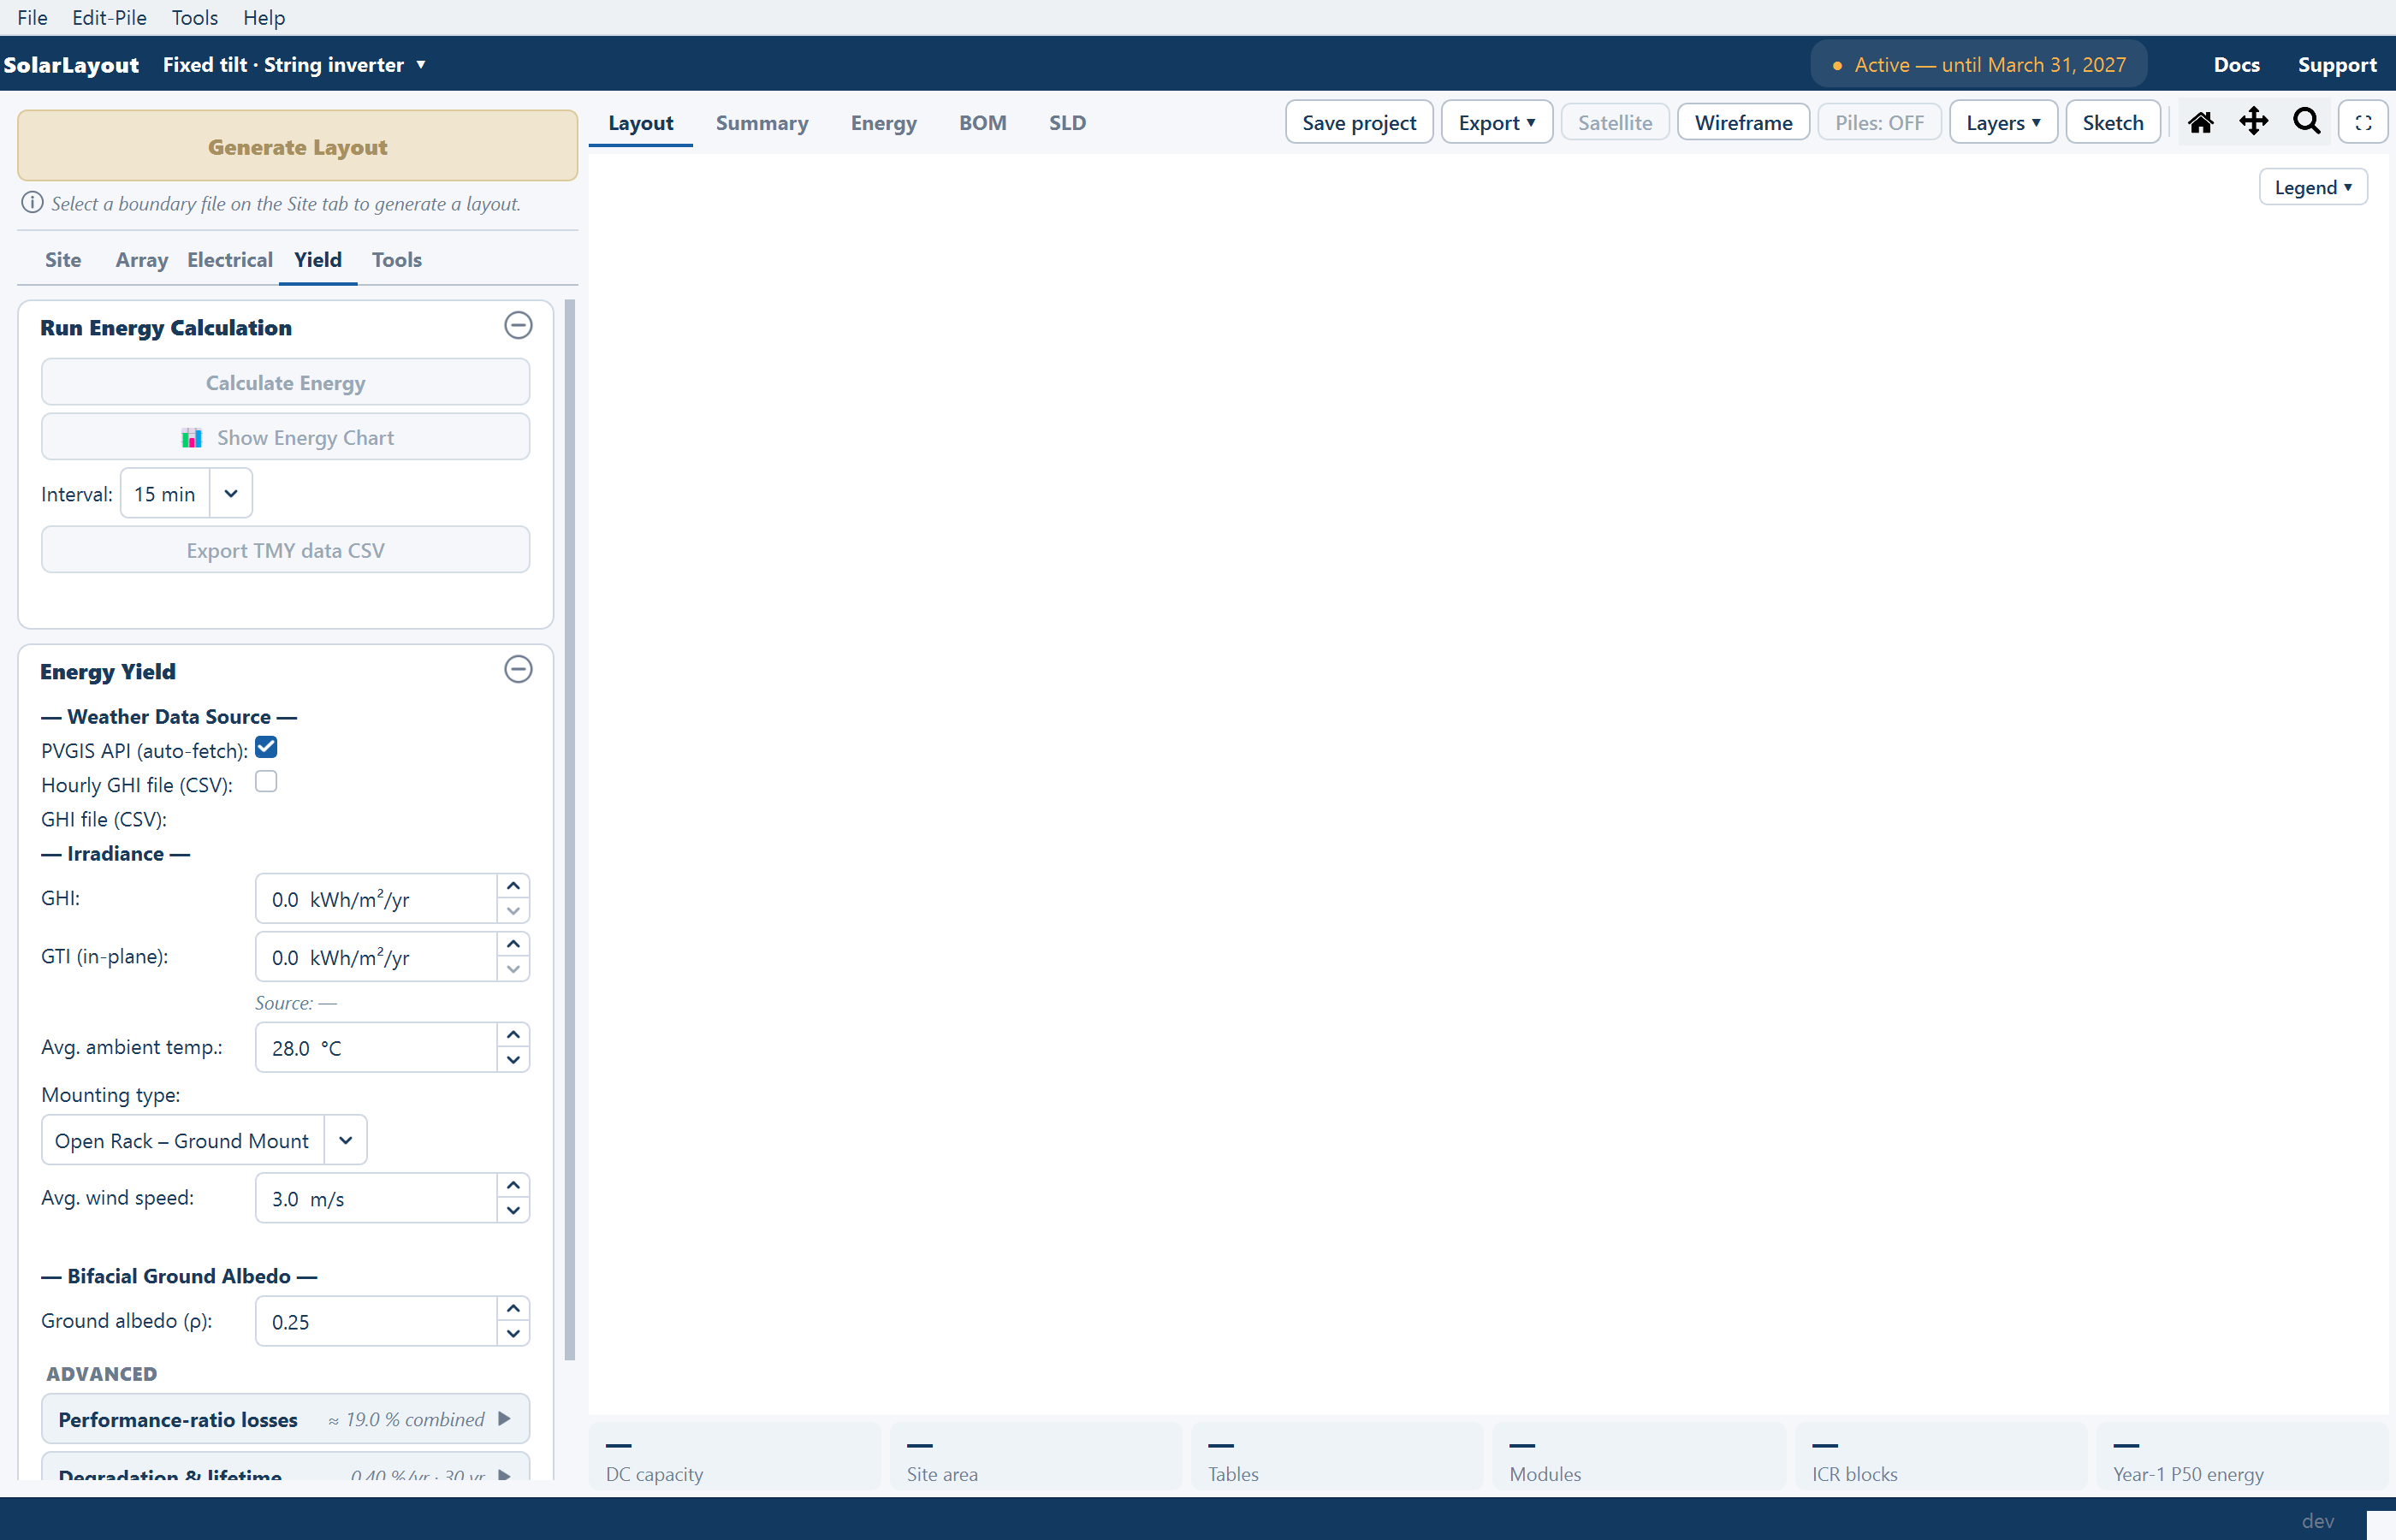
| Yield | Run Energy Calculation · Energy Yield | The energy run, the weather source, site conditions, losses, degradation and exceedance probabilities — How yield is calculated |
| Tools | Obstructions · Main Control Room & Objects · Studies | Editing a generated layout — hand-drawn obstructions, the main control room and placed objects — and the five studies — Obstructions, Site equipment |
The MOUNTING chip on the Array tab reads Fixed-tilt MMS tables or Single-axis tracker. It is a reminder, not a control: the mounting was chosen in the New design window, and a different mounting means another window.
The Tools tab
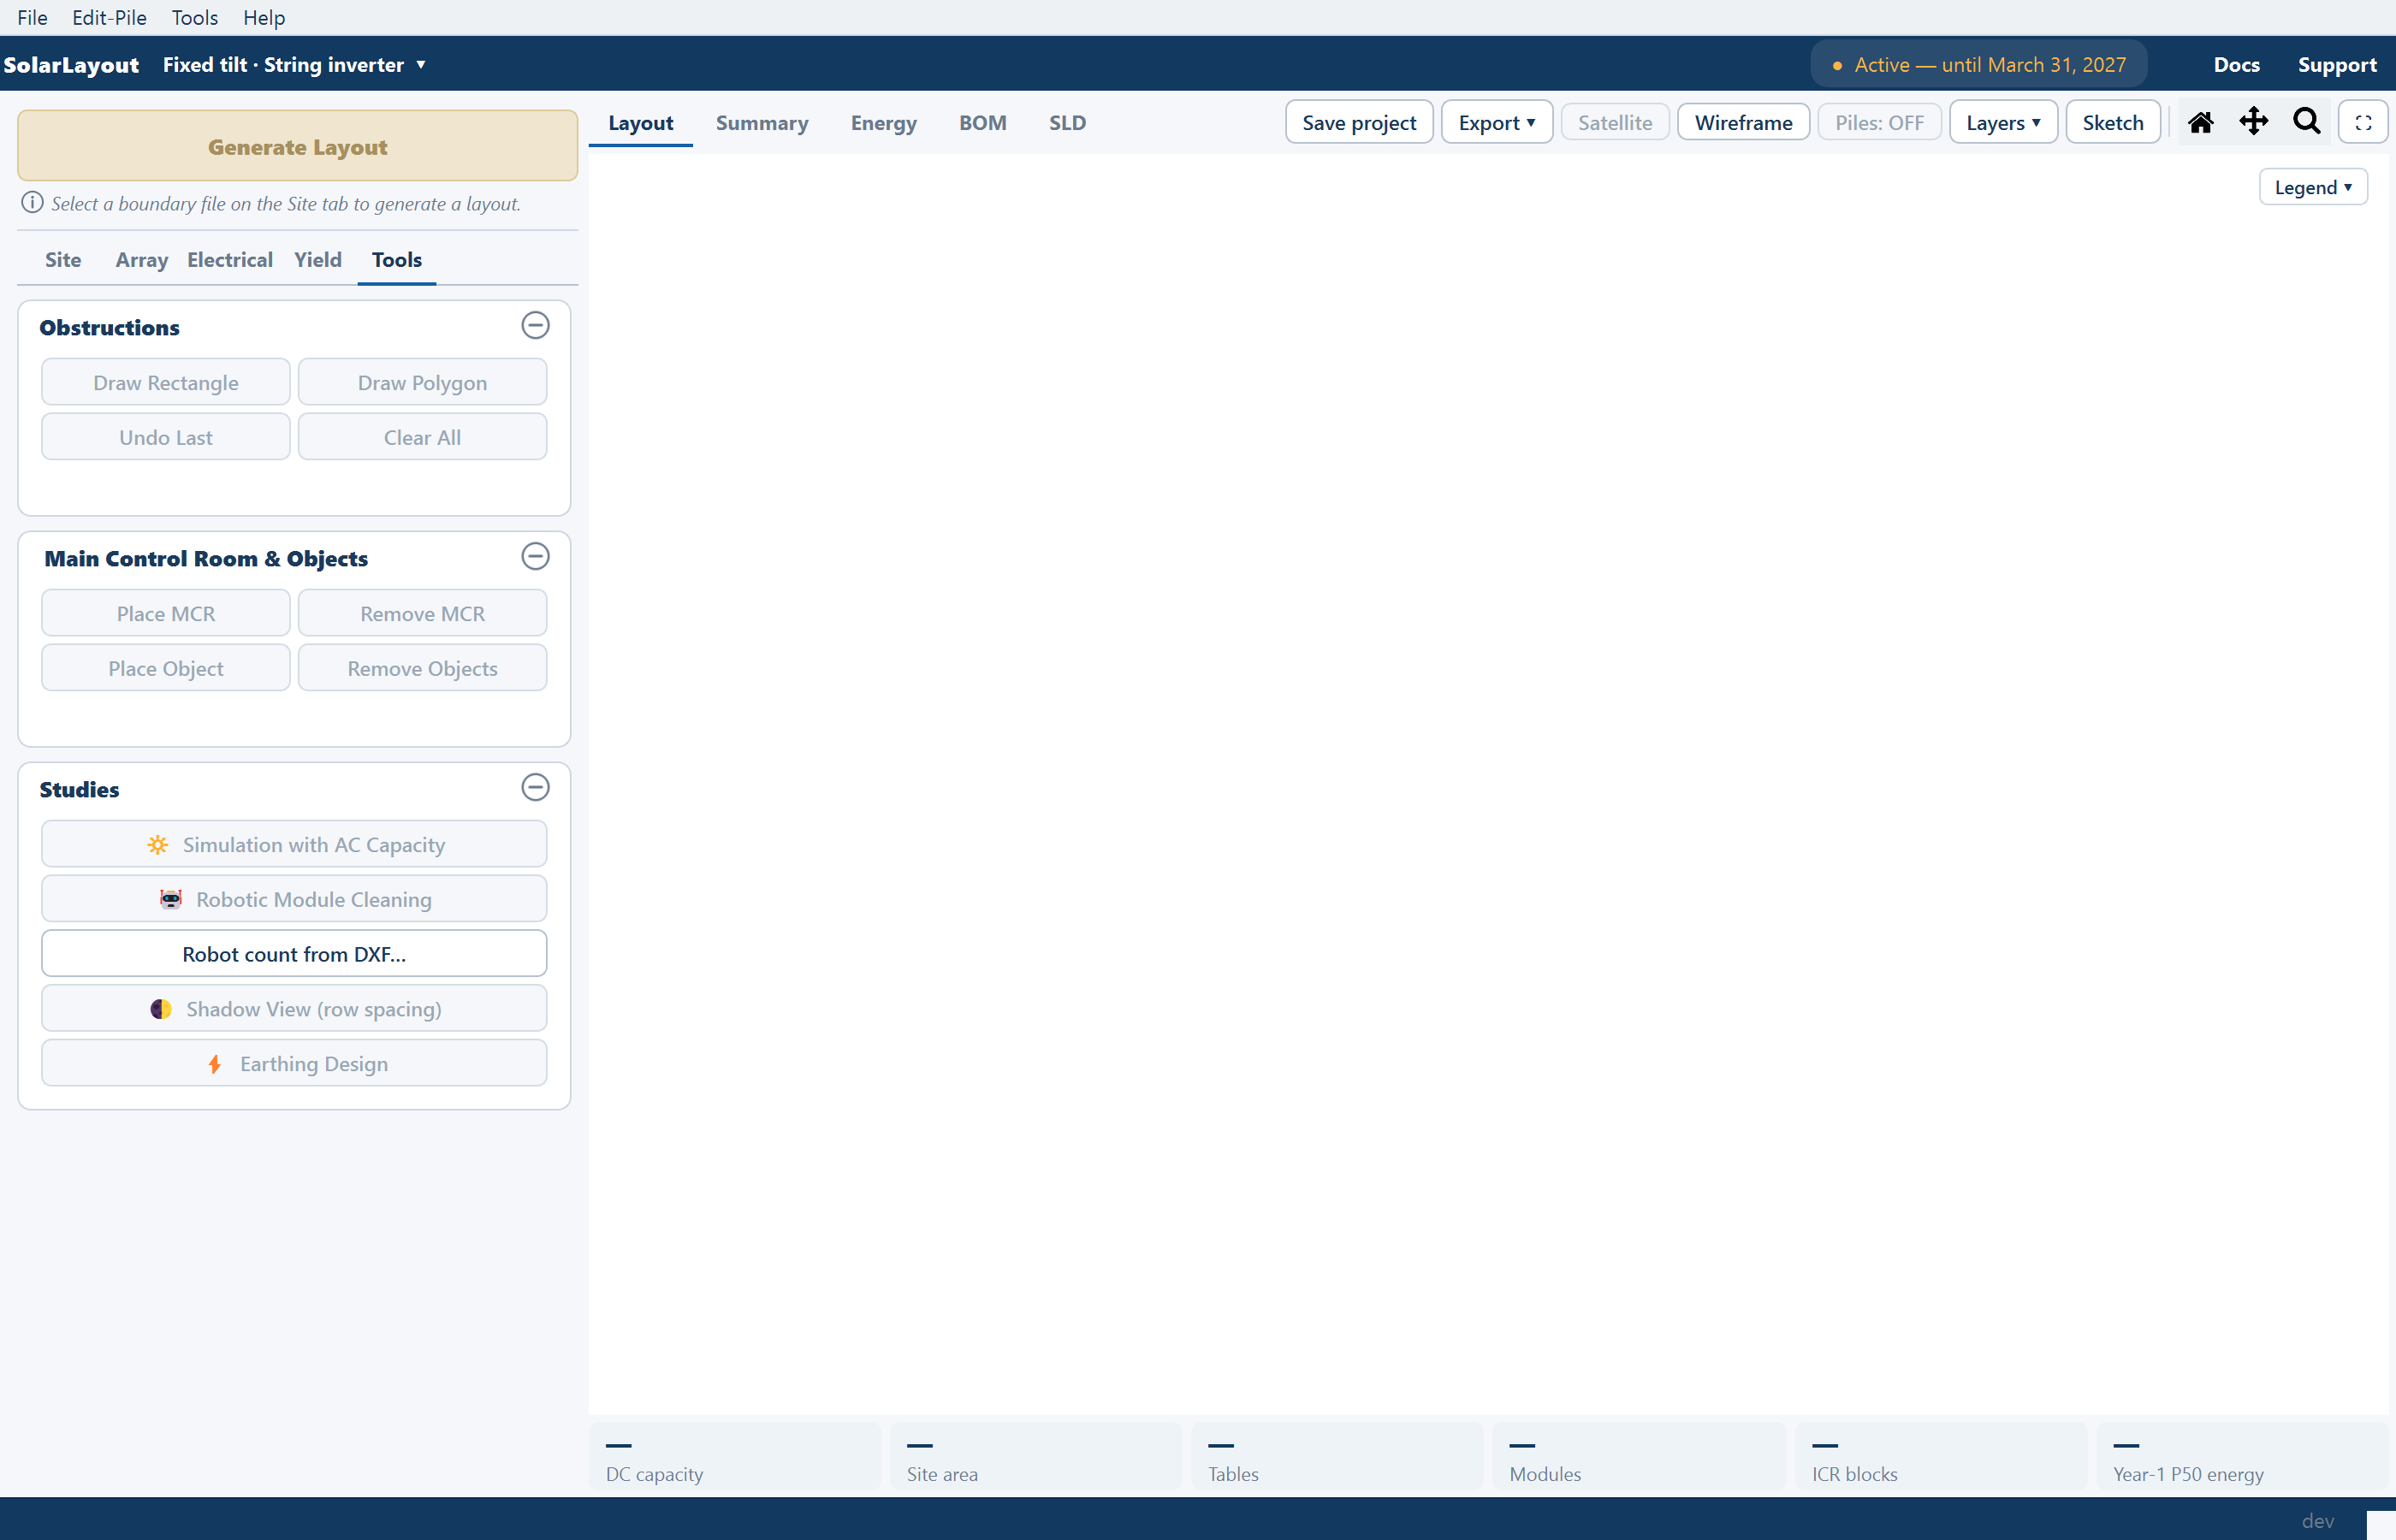
The Tools tab opens at any time. Before a layout exists its tooltip reads "Generate a layout first", and its buttons are greyed out — all except Robot count from DXF…, which needs no layout.
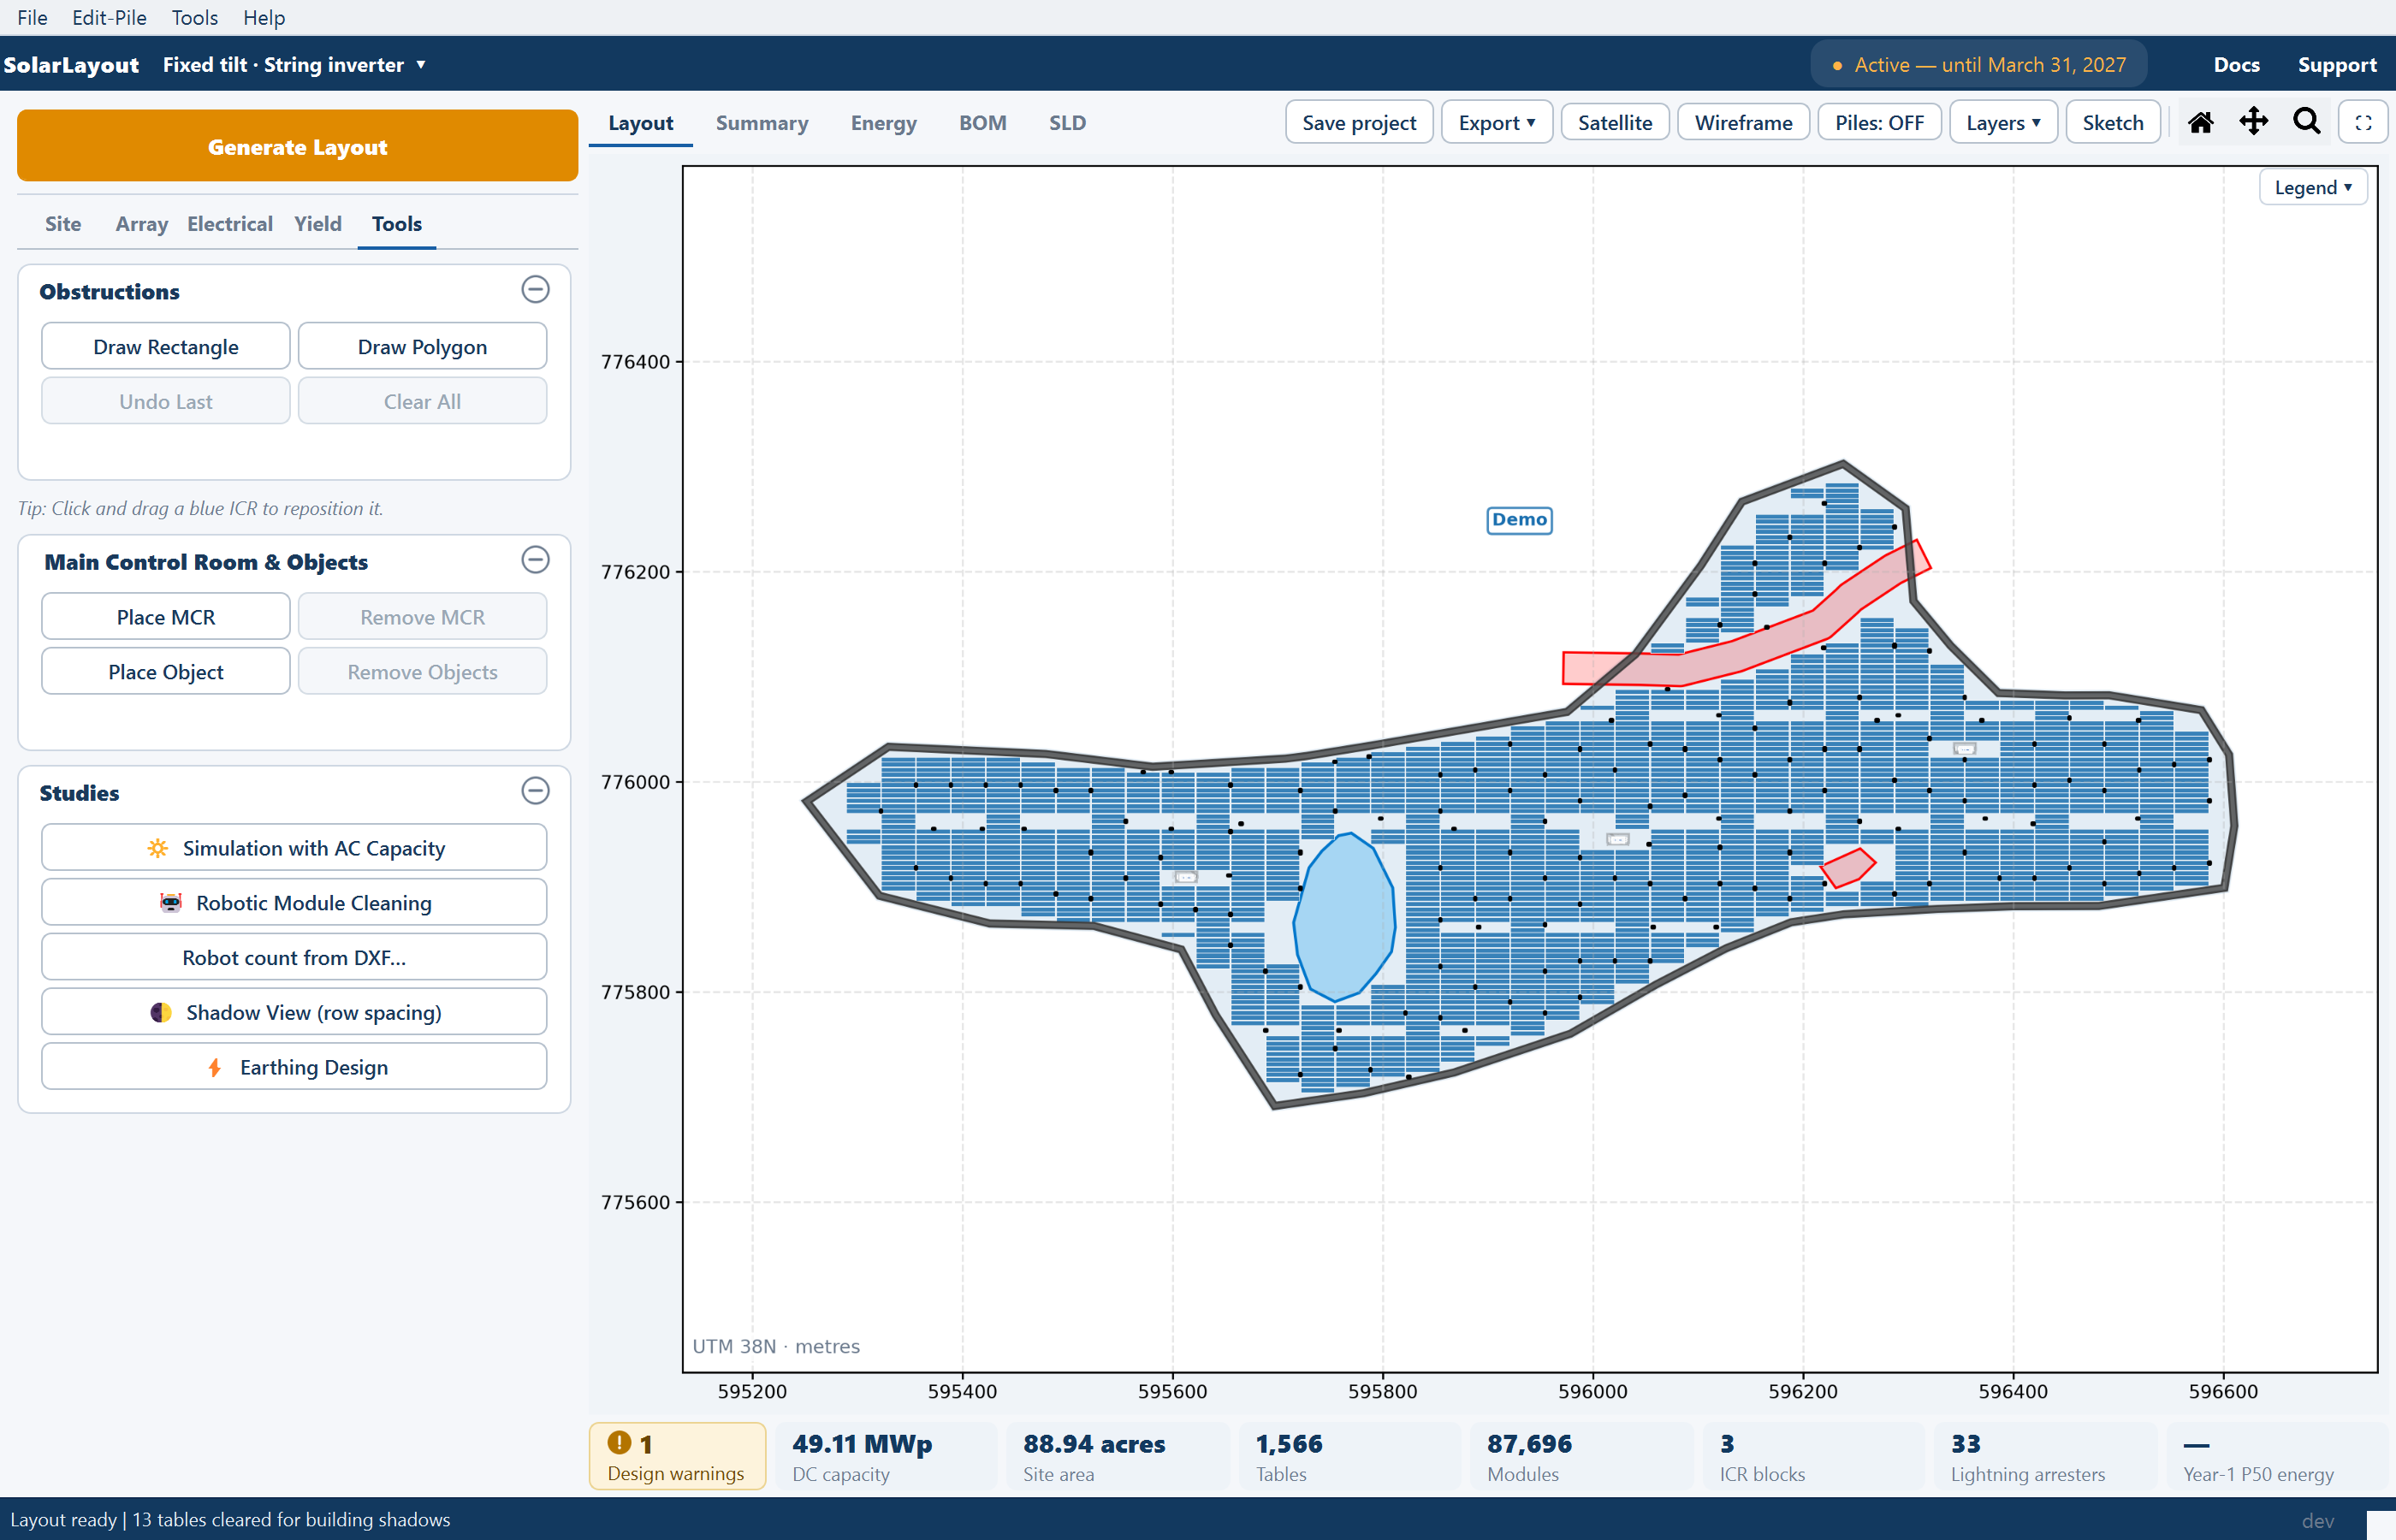
Once a run has placed control rooms, the tip "Tip: Click and drag a blue ICR to reposition it." appears between the Obstructions card and the Main Control Room card. That is how a control room is moved: with no navigation tool active, drag it to a valid spot inside the perimeter road and release.
The Studies card holds five buttons, in this order:
| Button | What it does |
|---|---|
| 🔆 Simulation with AC Capacity | Sizes the plant from a target AC capacity and DC/AC ratio, then rebuilds the layout at the resulting DC capacity — Sizing from an AC capacity |
| 🤖 Robotic Module Cleaning | Counts the cleaning lines and sizes the cleaning-robot fleet for this layout — Robotic module cleaning |
| Robot count from DXF… | Sizes a cleaning-robot fleet from any plant layout drawing, with no layout needed — Robot count from DXF |
| 🌓 Shadow View (row spacing) | Opens the row-spacing shadow cross-section — Row-to-row shading |
| ⚡ Earthing Design | The earthing calculation, plan, report and bill of quantities for this layout — Earthing design |
All five are there from the start. The four that work on the layout enable at the end of a run that produced one; Robot count from DXF… is always enabled.
The mode banner
Three tools take the whole left column over while they are on: Sketch (hand editing of the drawing), and the SLD and BOM views. Each replaces the pinned button with a coloured banner — orange ● Sketch Mode, blue ● SLD Preparation, green ● Bill of Materials — carrying its own Exit button, and swaps the stage tabs for the tool's palette. Leaving the mode gives the column back exactly as it was. See Sketch Mode, Single-line diagram and Bill of materials.
The right side
Five tabs across the top — Layout · Summary · Energy · BOM · SLD — are views of one plant, and each takes the whole area under the header. To the right of the tabs sits the row of tools for the current view: Save project and Export ▾ always; the drawing's view toggles, the Layers ▾ popover, Sketch, the navigation icons and the expand button on the Layout view; Copy and Open in window on Summary and Energy. Under every view runs a single row of plant chips — the plant totals, and the only place they are shown.
Views, layers and tools covers each view, every tool and the Layers rows in full.
The status bar
| Left | Right |
|---|---|
| Progress and result messages — "Calculating layout…", "Layout ready" with the notes that apply, "KMZ exported: …", "Project saved (full): …" and the like. While the layout is out of date it reads "Out of date: … Regenerate the layout to update results and exports." | The live cursor position over the drawing, and the application version — the number to quote when you report a problem. |
The cursor position is in UTM metres for a Google Earth file or a CAD drawing located by its own coordinates, and in the drawing's own coordinates for a CAD drawing or an image placed by hand or loaded as layout only — see CAD drawing boundaries. The status bar never carries the plant totals; those are in the plant chips.
Where to go next
Views, layers and tools
The five views, the tools row, the Layers popover and the plant chips
Out-of-date results
What Regenerate Layout, the amber fields and the tab dots mean
Every parameter and its default
Field by field across the five tabs
Keyboard shortcuts and commands
F5, Ctrl+1 to Ctrl+5, and the rest
Choosing a design mode
The New design window — fixed tilt or tracker, string or central inverter — what each choice means, what it changes in the interface, and how to open a second design.
Views, layers and tools
The five views of the plant, the tools beside the view tabs, the Layers popover, the plant chips, and the Summary and Energy views.